> For the complete documentation index, see [llms.txt](https://docs.auterion.com/llms.txt). Markdown versions of documentation pages are available by appending `.md` to page URLs; this page is available as [Markdown](https://docs.auterion.com/hardware-integration/skynode/payloads/sony-alpha-a7r-iv.md).
# Sony Alpha a7R IV
{% hint style="info" %}
This section describes how to set up the Sony Alpha a7R IV with Skynode. Please refer to[ this page](/hardware-integration/hardware-integration/initial-vehicle-wiring.md#pixhawk-payload-bus) for wiring instructions and [this page](/hardware-integration/skynode/peripherals/pixhawk-payload-bus.md) for specifics about the Pixhawk Payload Bus.
{% endhint %}
## What you will need for this step
* Skynode Enterprise (powered as described in [Power Skynode](/hardware-integration/skynode/evaluation-kit/powering-skynode.md))
* Pixhawk Payload Bus (connected as described in [Pixhawk Payload Bus](/hardware-integration/skynode/peripherals/pixhawk-payload-bus.md))
* USB-C to Micro USB cable (not included in the kit)
* Sony Alpha a7R IV Camera (not included in the kit)

## Preparation
In order to use the Sony a7R IV camera with Skynode, the **PC Remote Function** feature has to be enable on the camera first.
1. Turn on the Sony a7R and open the Settings menu (Press **MENU** button):\
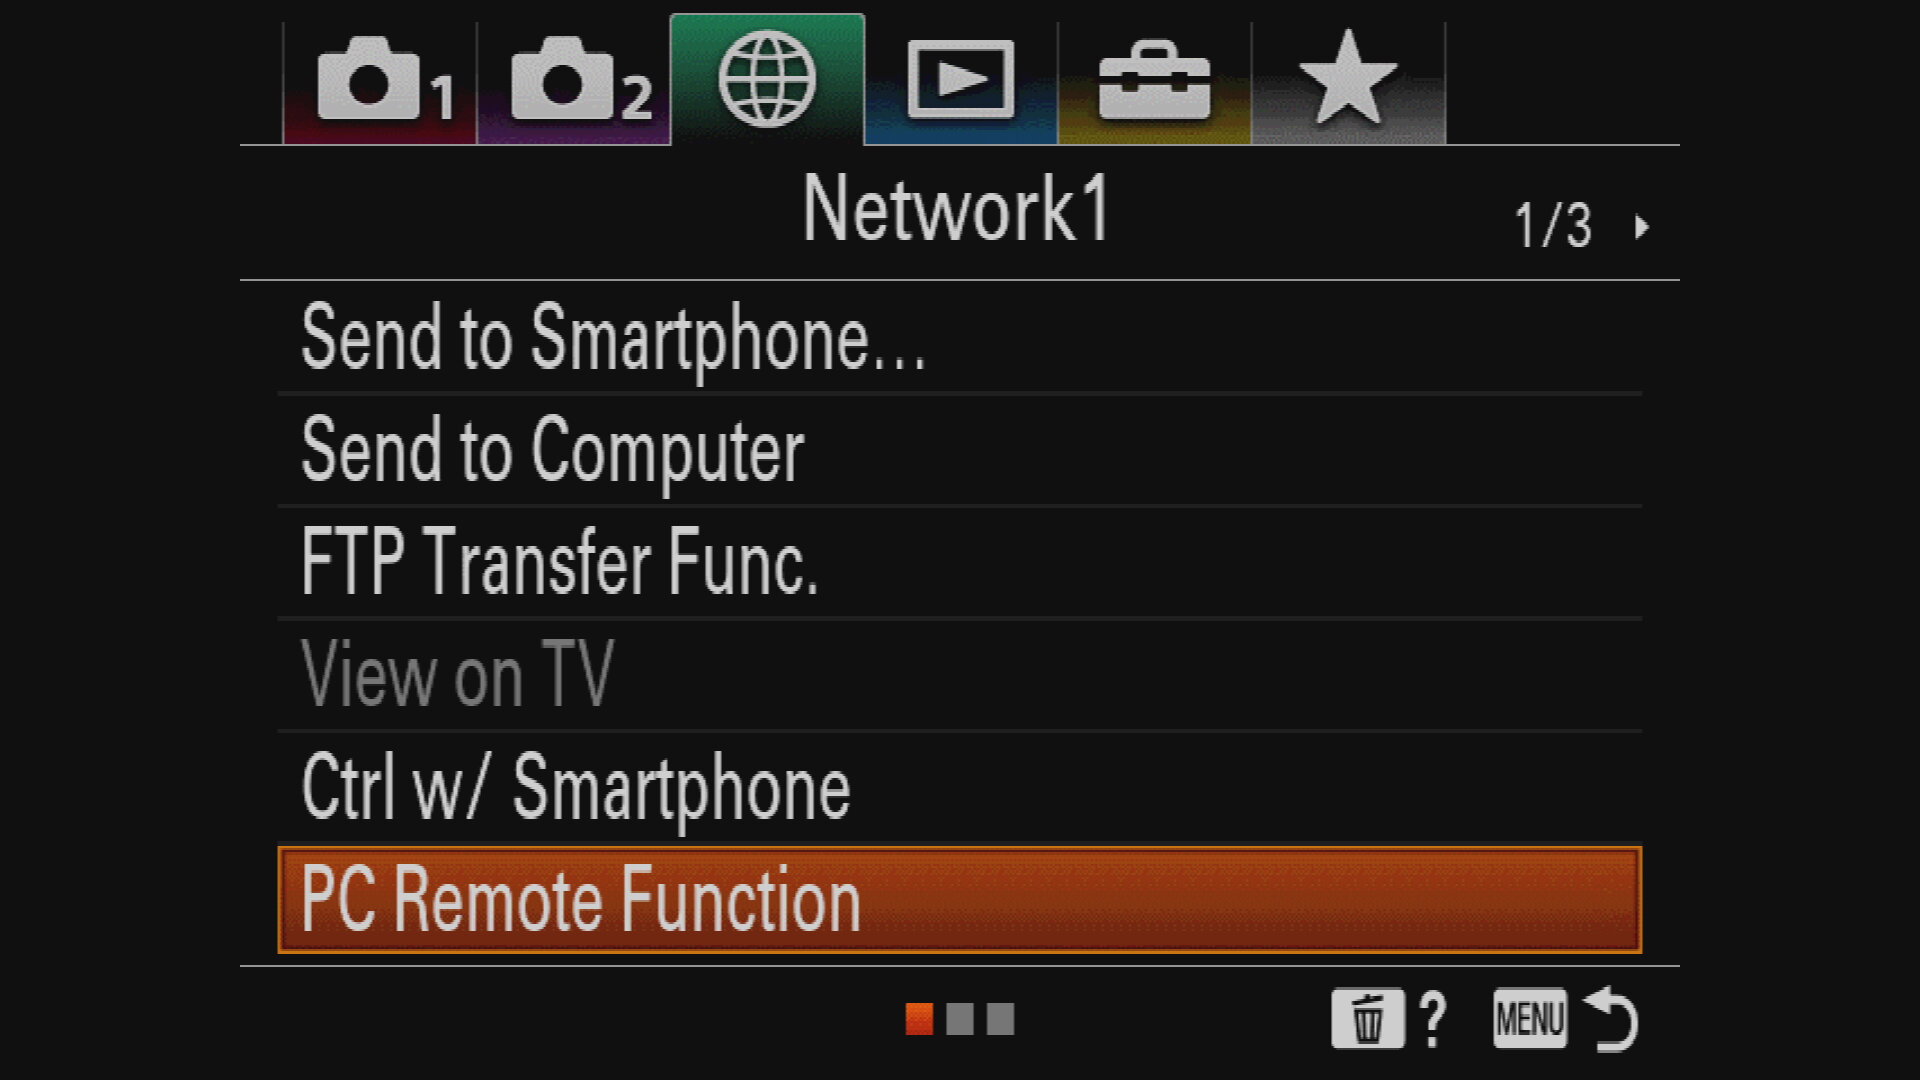
2. Navigate to the *Network1* tab and open *PC Remote Function*.\
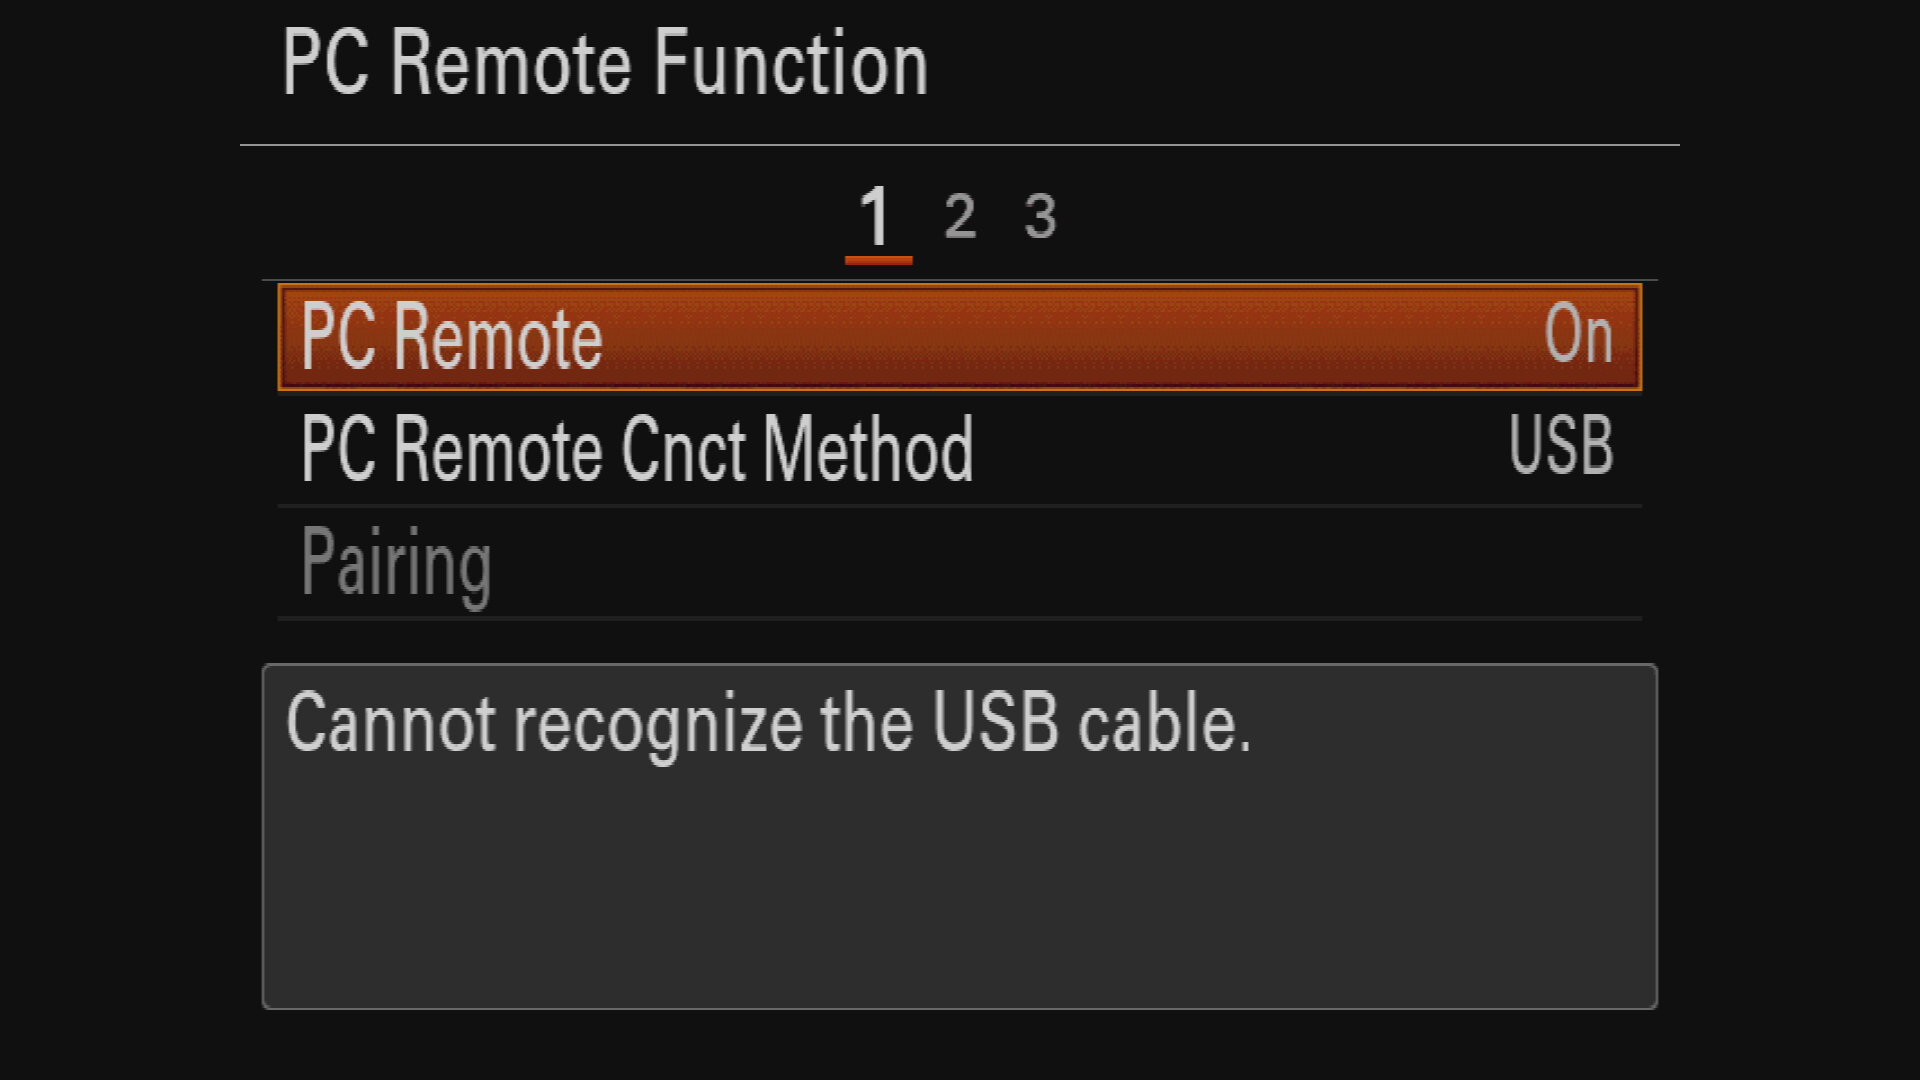
3. Set *PC Remote* to **On** and make sure *PC Remote Cnct Method* is set to **USB.**\
4. Exit the dialog by pressing the **MENU** button.
## Setup
1. Connect the camera to the [Pixhawk Payload Bus](/hardware-integration/skynode/peripherals/pixhawk-payload-bus.md) Adapter Board using a USB-C to USB-C cable.
2. Follow the instructions in [General Setup](/hardware-integration/skynode/payloads.md#general-setup-same-for-all-payloads). This section is the same for all payloads.
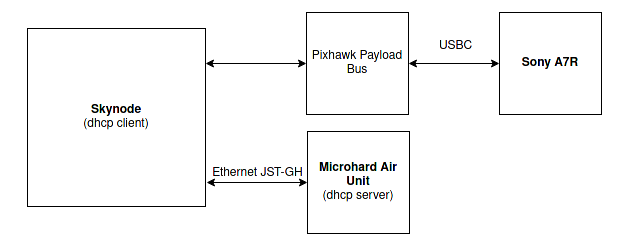
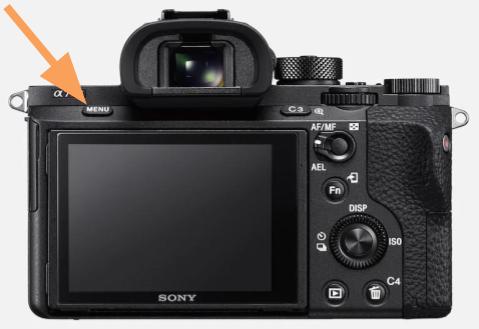 2. Navigate to the *Network1* tab and open *PC Remote Function*.\
  3. Set *PC Remote* to **On** and make sure *PC Remote Cnct Method* is set to **USB.**\
  4. Exit the dialog by pressing the **MENU** button.
## Setup
1. Connect the camera to the [Pixhawk Payload Bus](/hardware-integration/skynode/peripherals/pixhawk-payload-bus.md) Adapter Board using a USB-C to USB-C cable.
2. Follow the instructions in [General Setup](/hardware-integration/skynode/payloads.md#general-setup-same-for-all-payloads). This section is the same for all payloads.
4. Exit the dialog by pressing the **MENU** button.
## Setup
1. Connect the camera to the [Pixhawk Payload Bus](/hardware-integration/skynode/peripherals/pixhawk-payload-bus.md) Adapter Board using a USB-C to USB-C cable.
2. Follow the instructions in [General Setup](/hardware-integration/skynode/payloads.md#general-setup-same-for-all-payloads). This section is the same for all payloads.