> For the complete documentation index, see [llms.txt](https://docs.auterion.com/llms.txt). Markdown versions of documentation pages are available by appending `.md` to page URLs; this page is available as [Markdown](https://docs.auterion.com/vehicle-operation/auterion-mission-control/ui-breakdown/fly/connection-manager.md).
# Connection manager
Connecting vehicles
The top bar is used to monitor high-level vehicle states and modes and to set the current vehicle, mode, and armed state.
***You can find the connection manager icon on the left side here.***
*Auterion Mission Control* connects to vehicles over a telemetry radio in order to receive vehicle information, upload/download missions, and to send flight commands. For some radios, the same connection is also used for receiving video from the vehicle.
The *Pairing Manager* is used to manage telemetry connections for the advanced radios recommended by Auterion. The pairing manager is used to first *pair* (associate) ground control and vehicle based radio modules. Paired vehicle can subsequently be connected when needed.
**To pair and connect a vehicle:**
1. Select the *Connect to Vehicle* icon in the top status bar.
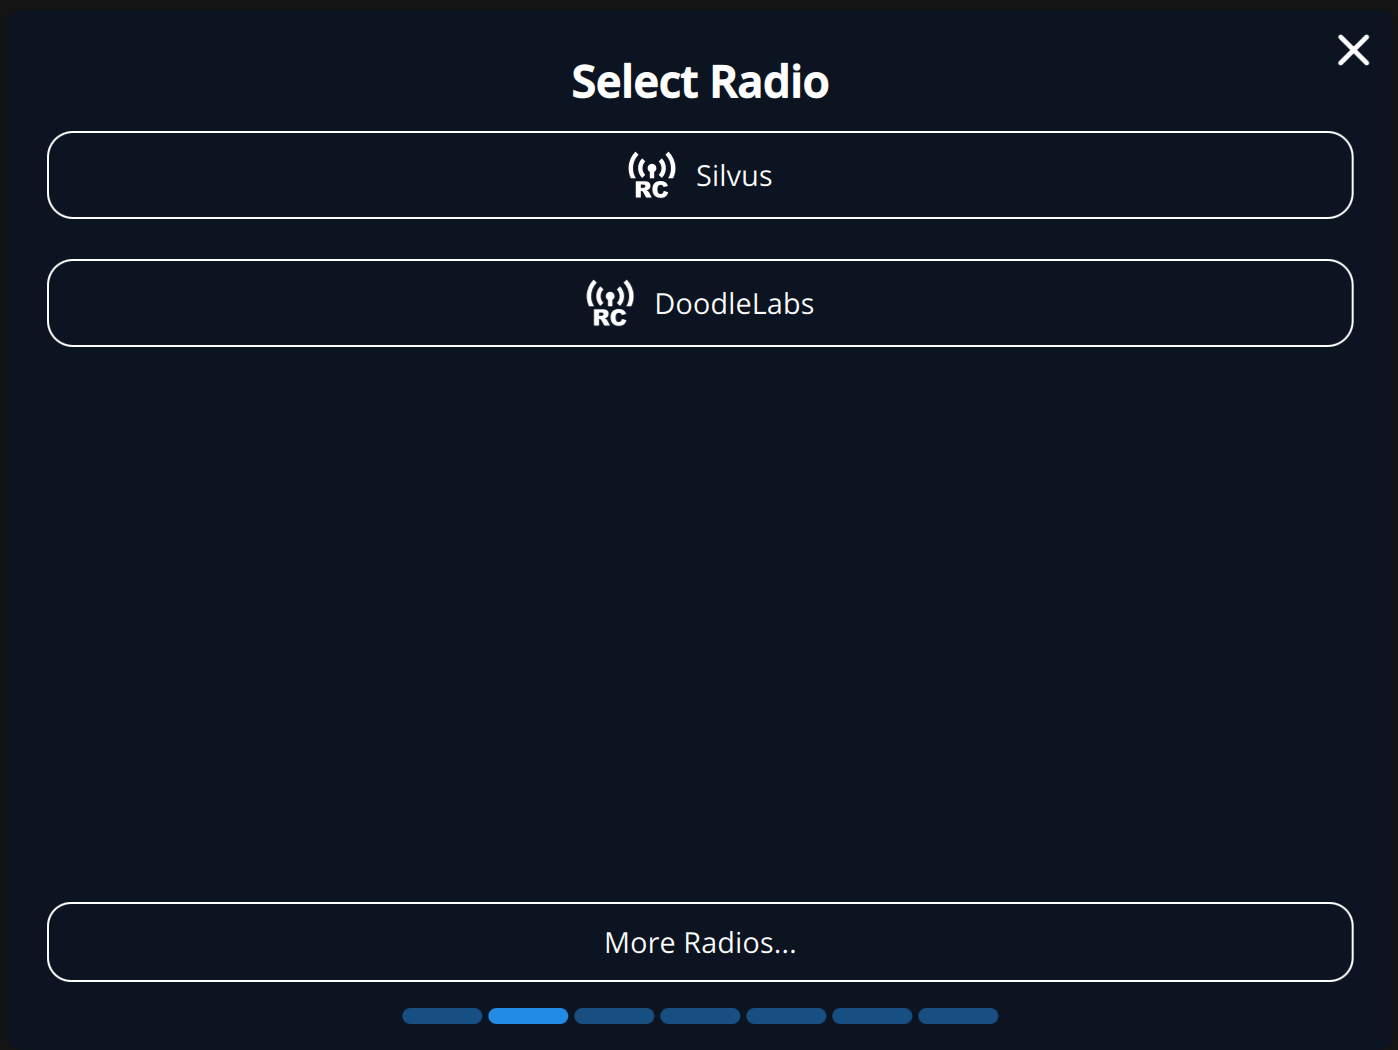
2. If no vehicles have previously been paired, this will launch the pairing dialog. To select from a bigger list of radios, tap "More Radios...".
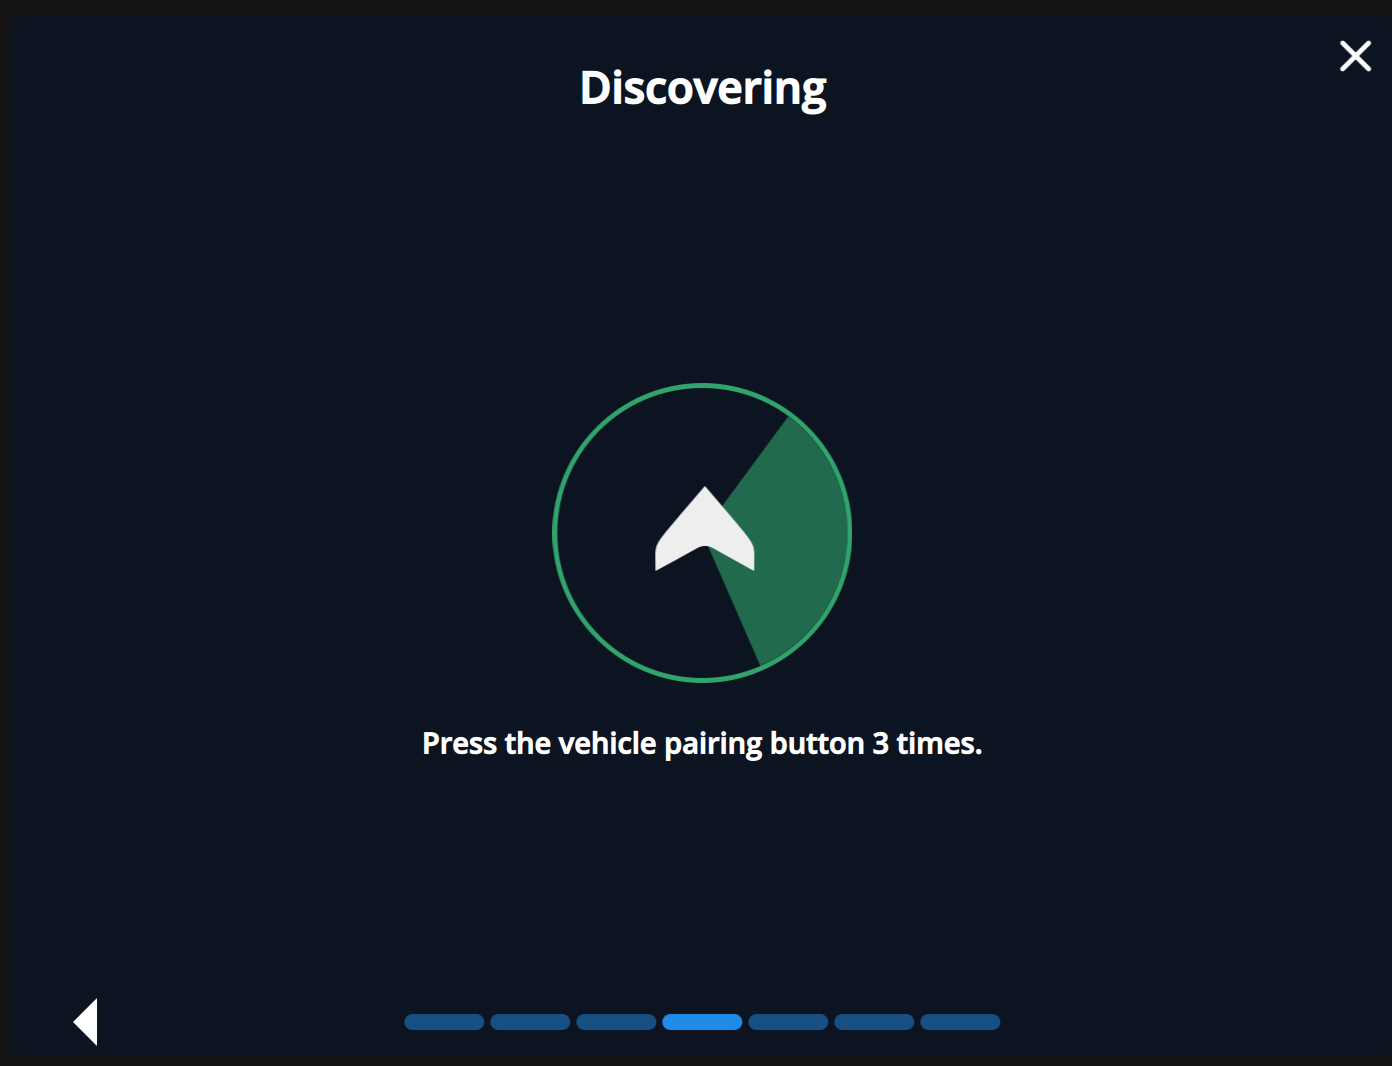
3. To pair a vehicle set all settings in the Setup page and select "Next". The required settings depend on the used radio. Press the vehicle pairing button on the vehicle 3 times to put the vehicle into pairing mode (by default the pairing button is the safety switch on the GPS). Now the discovery process starts, this may take a moment. You can also connect it with a USB-C cable.
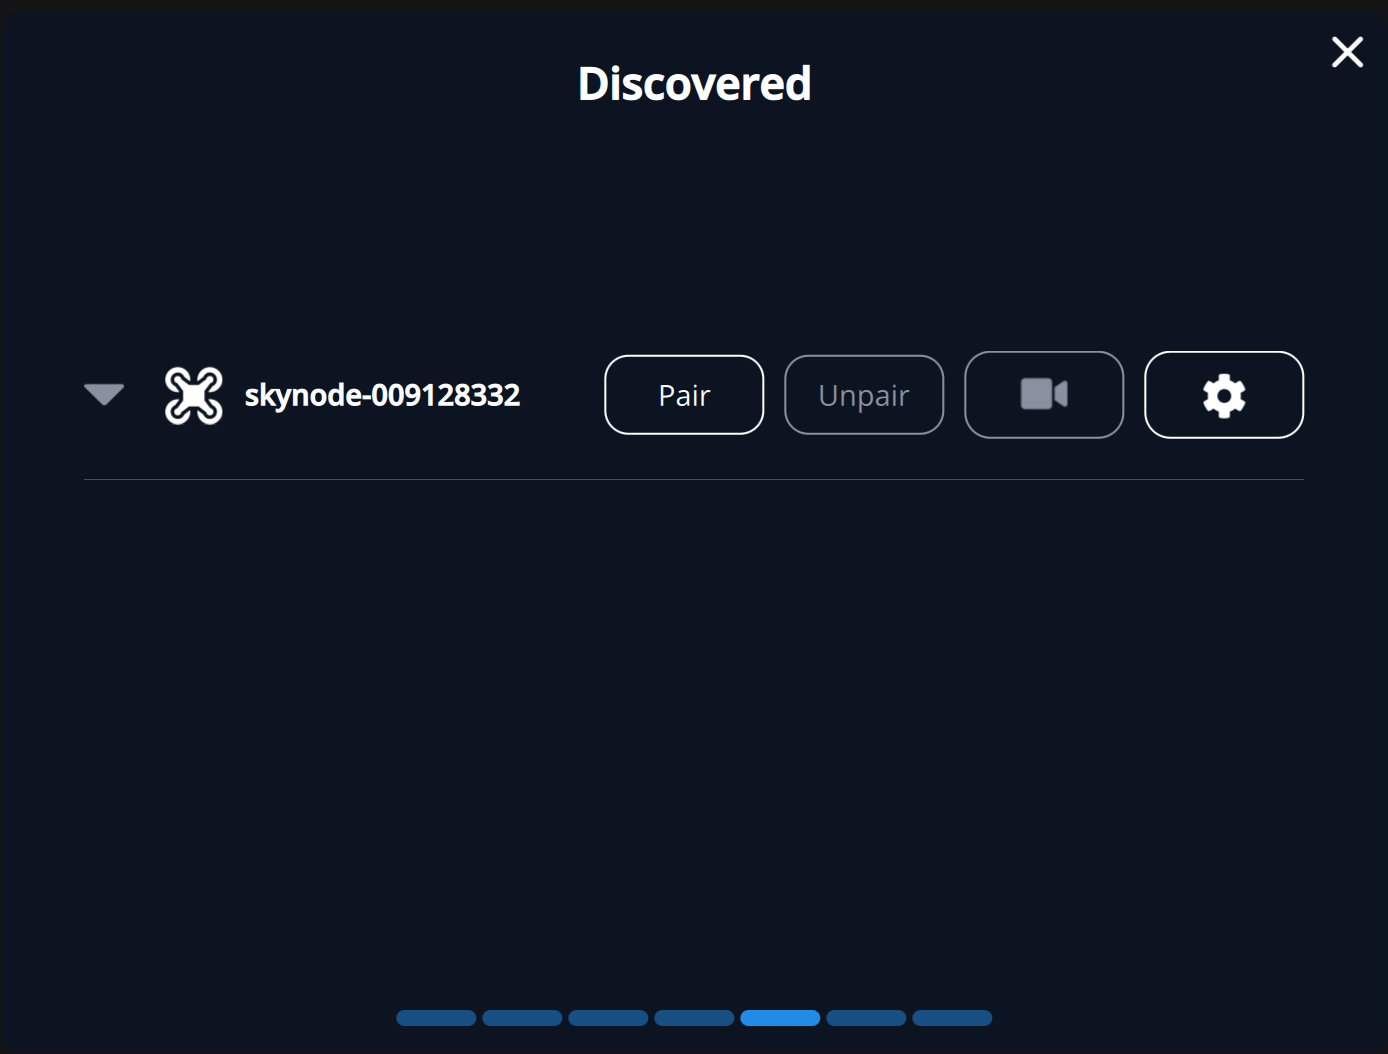
4. When the vehicle is found it will be displayed and can be paired.
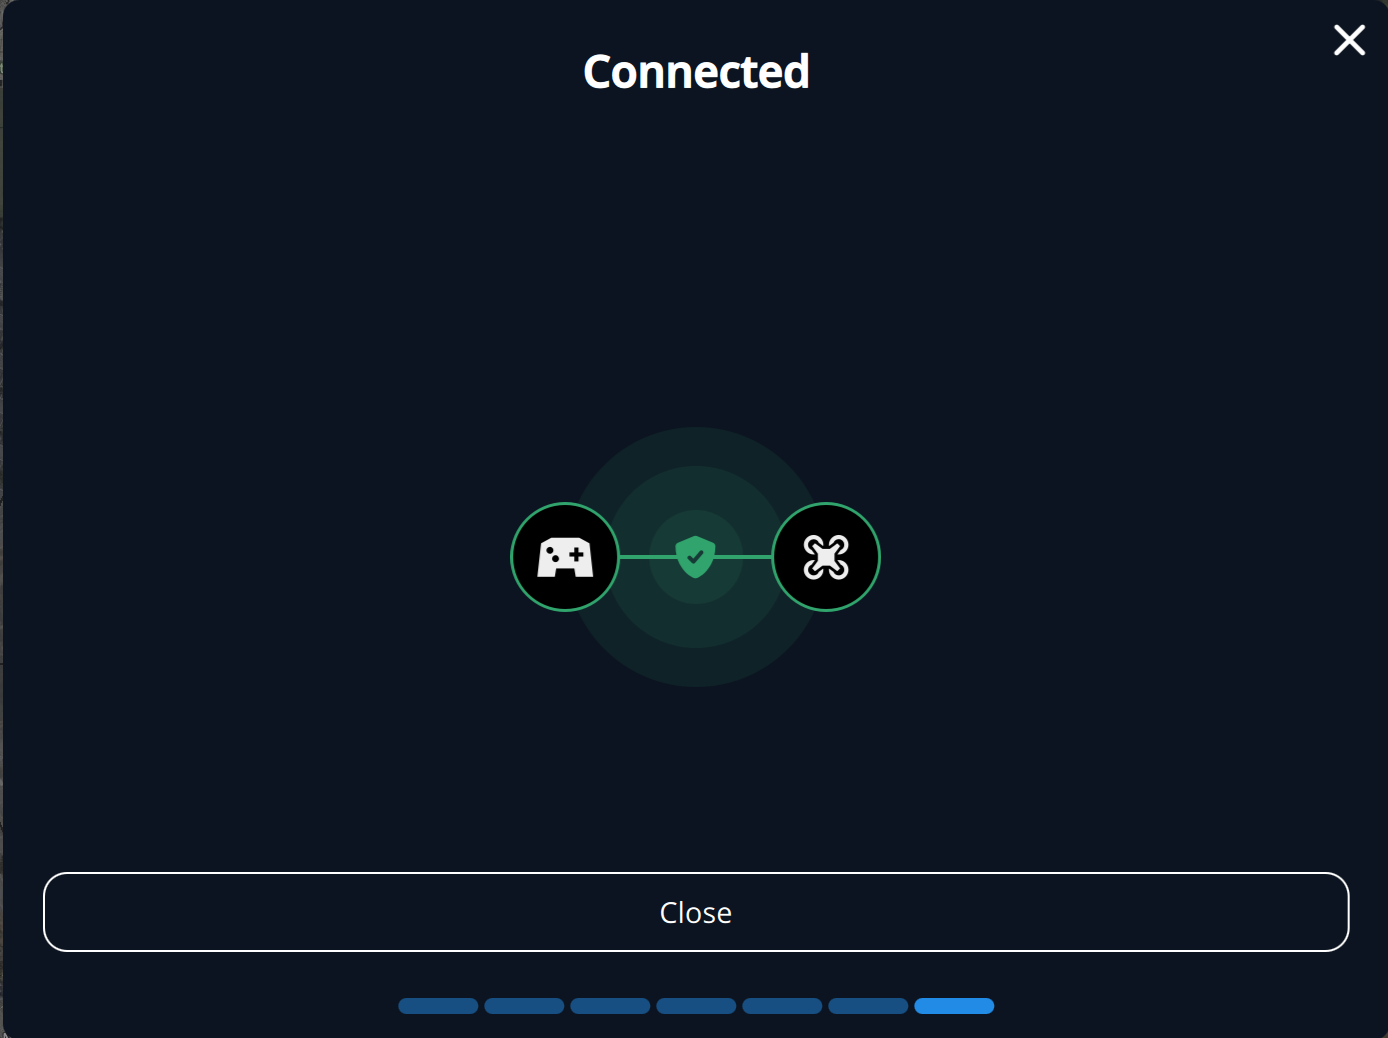
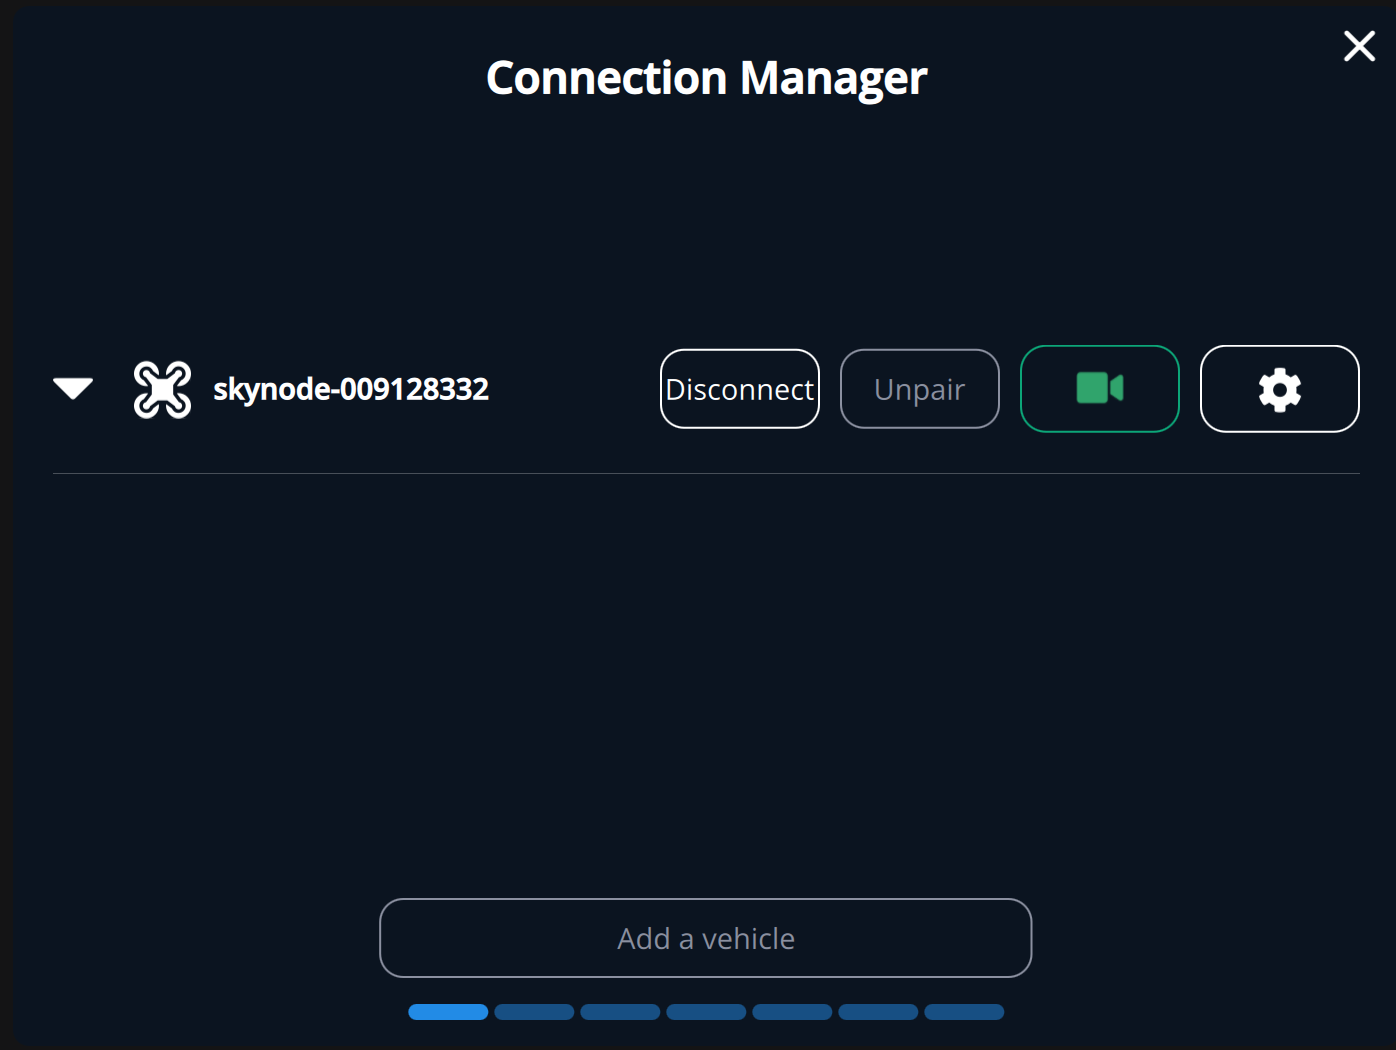
5. Once the vehicle is connected the following dialog will be displayed.
6. To disconnect the vehicle click on the connection manager icon on the top bar and then disconnect your vehicle.