# Custom power setup
{% hint style="danger" %}
Building a custom power setup comes with an increased risk of damaging Skynode. Skynode warranty is voided by the use of any described power setup on this page. This page serves to inform the knowledeable system integration engineer.
{% endhint %}
### Analog sensing via ADS1115
{% hint style="info" %}
This workaround is supported with AuterionOS 2.5 and later
{% endhint %}
To enable and configure it, keep the `BAT1_SOURCE` value at default (Power Module). Set the parameter `ADC_ADS1115_EN` to 1 and then configure it like a regular [analog voltage/current sensor in PX4](https://docs.px4.io/master/en/config/battery.html). Typically the voltage dividers and amps-per-volt values are given by the power module manufacturer, and the channel mapping depends on your wiring. For example, with a [PM06 from holybro](http://www.holybro.com/product/micro-power-module-pm06/) the following settings would be appropriate
`BAT1_SOURCE = Power Module (default)`\
`ADC_ADS1115_EN = 1`\
reboot (and restart AMC)\
`BAT1_I_CHANNEL = 1`\
`BAT1_V_CHANNEL = 0`\
`BAT1_V_DIV = 18.182`\
`BAT1_A_PER_V = 36.364`\
`BAT1_N_CELLS = 6`
#### Wiring example
### CUAV CAN PMU setup
{% hint style="info" %}
This workaround is supported with AuterionOS 2.5 and later
{% endhint %}
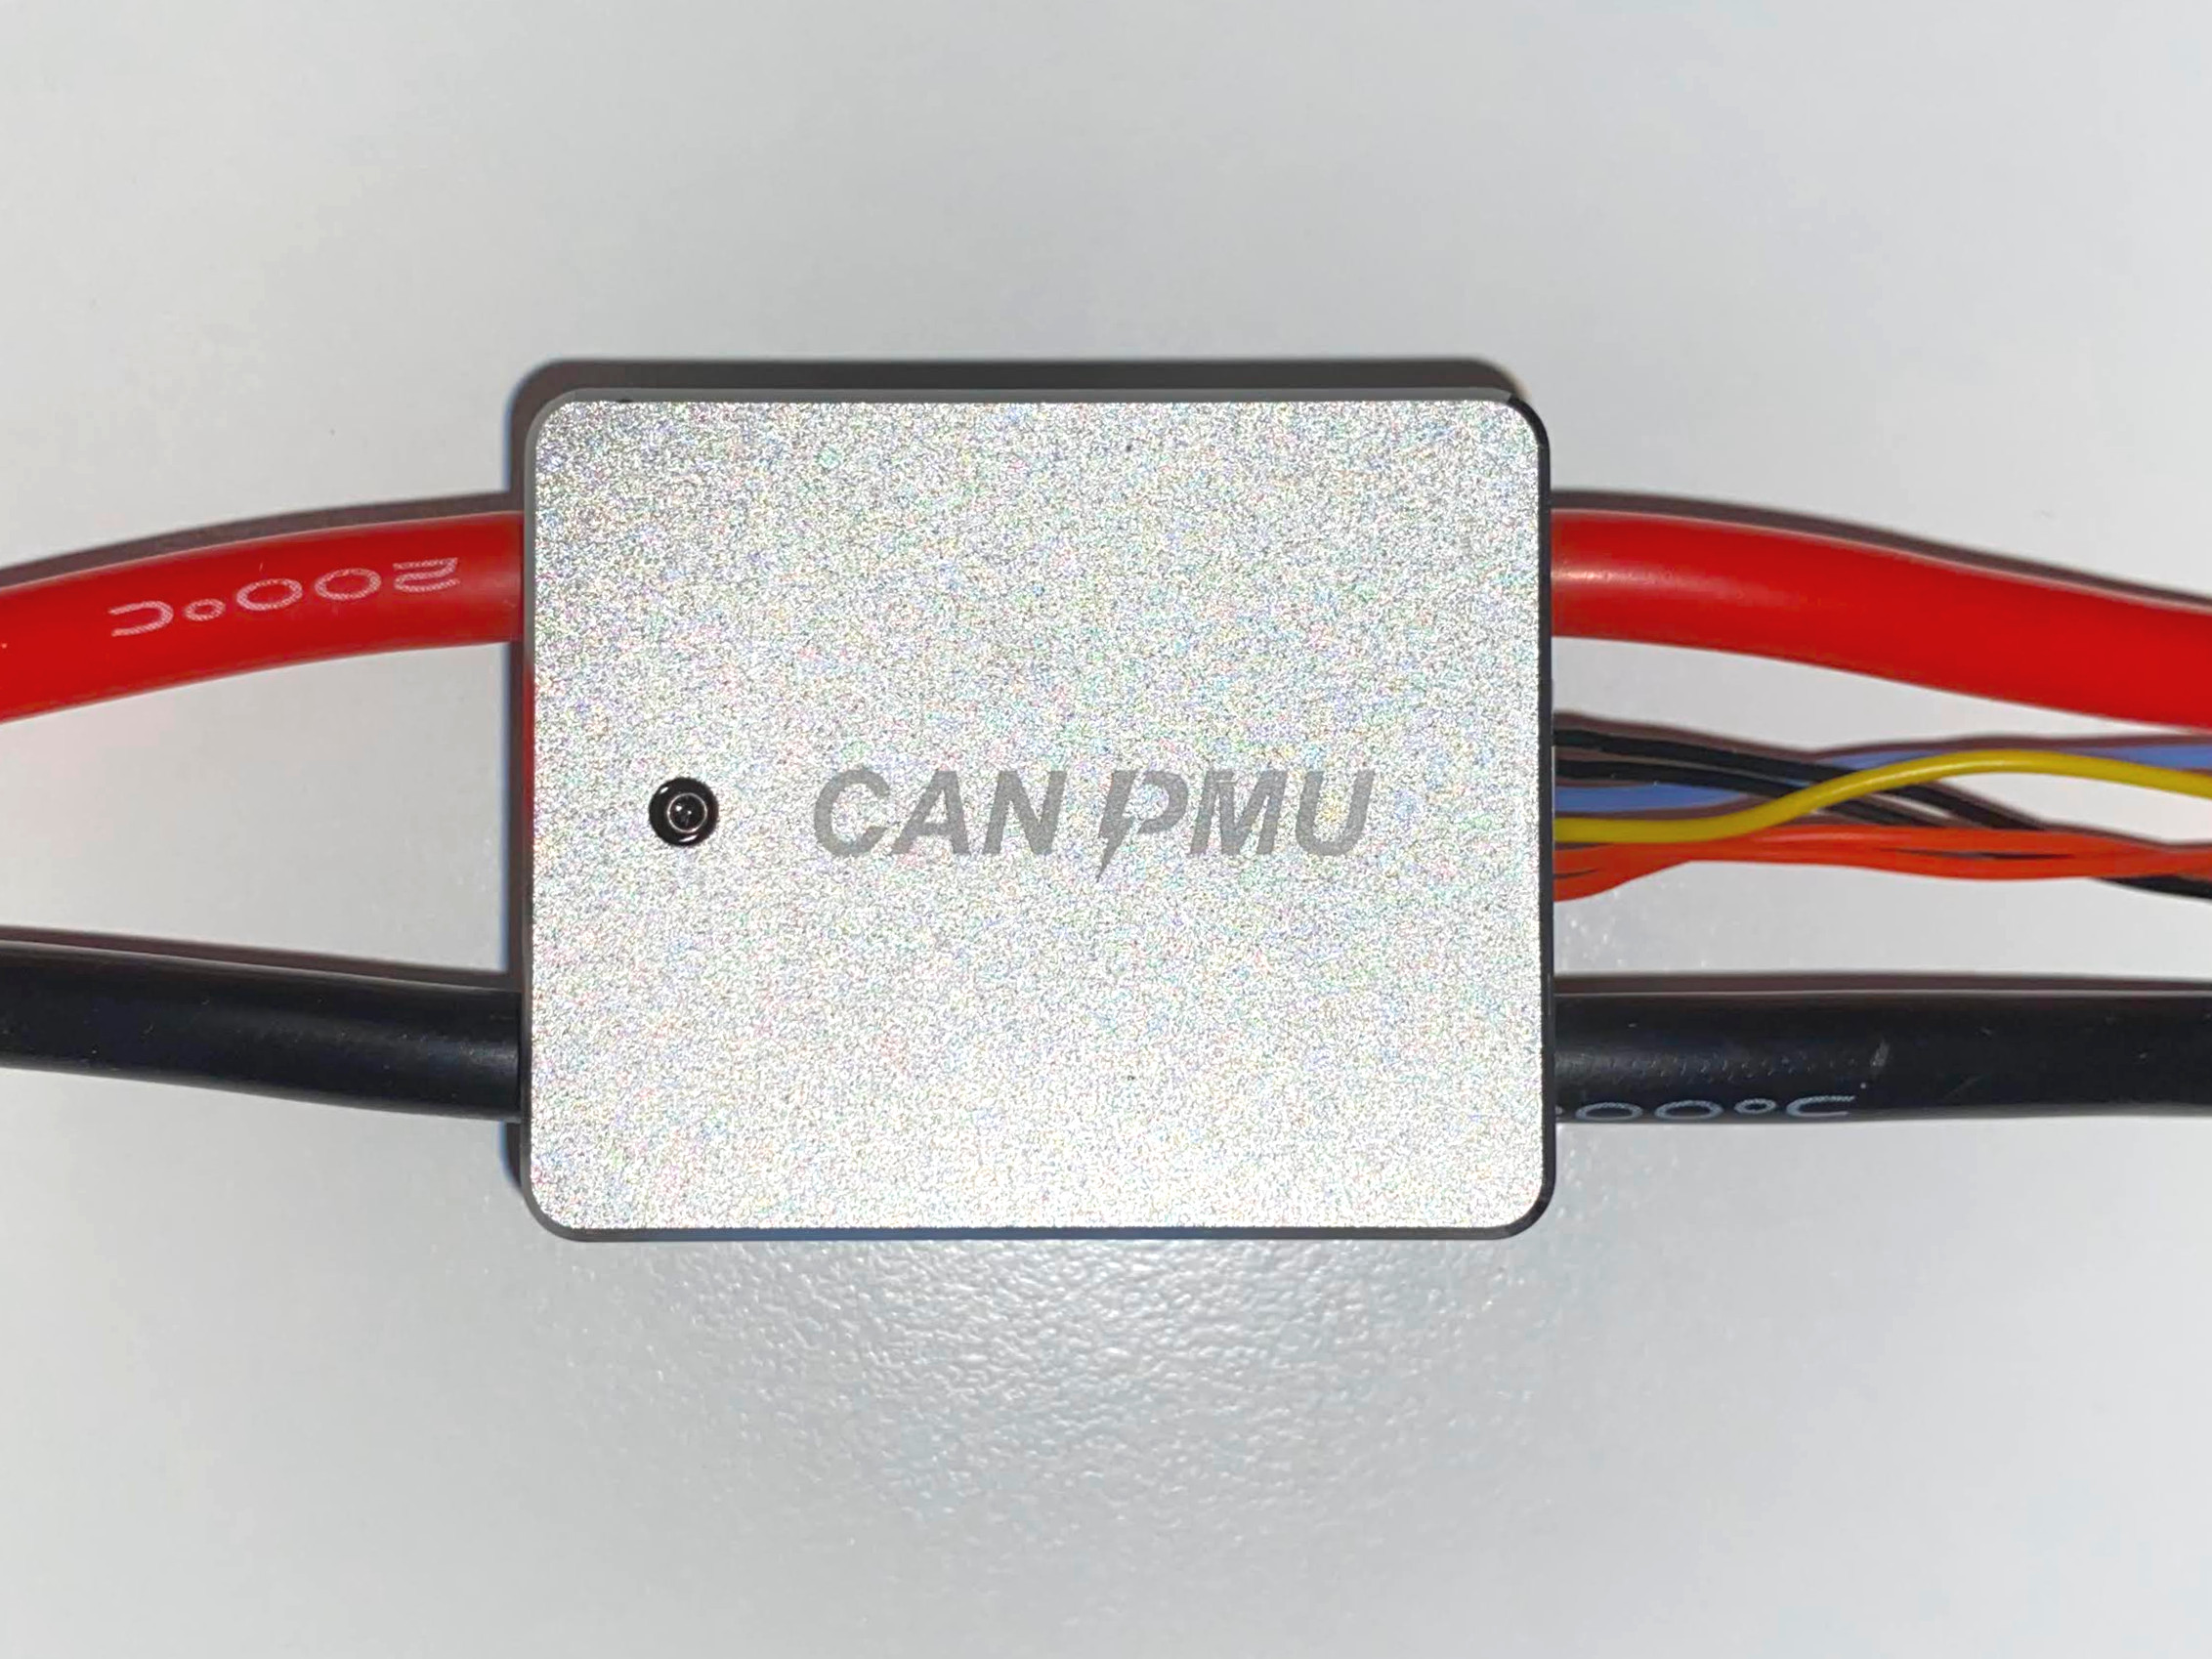
The [CAN PMU](https://doc.cuav.net/power-module/can-pmu/en/) from CUAV is a drone power management module that supports input voltage from 6 to 62V and currents up to 110A. It uses advanced CAN bus communication and supports the standard [UAVCAN](https://new.uavcan.org/) protocol.
#### Wiring
The CAN PMU connector has 6 pins:
1. (Red cable) - 5V
2. (Red cable) - 5V
3. (Yellow cable) - CAN P
4. (Blue cable) - CAN N
5. (Black cable) - GND
6. (Black cable) - GND
CUAV CAN PMU connector wiring
Pins 1, 2, 5, 6 can be directly connected to pins 1, 2, 5, 6 of J5 or J6 on Skynode:
Pins 3 and 4 instead needs to be connected respectively to pins 2 and 3 of J14 (CAN1) on the [Pixhawk Adapter Board](https://docs.auterion.com/~/changes/TDRfjBXXgHmxK48cWqay/hardware-integration/skynode/peripherals/adapter-boards):
Pixhawk Adapter Board
Once the CAN PMU is connected to Skynode, just set the parameter `UAVCAN_ENABLE` to 2 (Sensors Automatic Config) and reboot.\\
{% hint style="danger" %}
Custom power cables from the CAN PMU connector to J5 or J6 on Skynode could introduce voltage drops. It is highly recommended to cut the cables and solder the wires together.
{% endhint %}